Using MS Word to Create a Book Cover
The following example explains one way to create a book cover using Microsoft Word.
It is assumed that you have a general understanding of the MS Word program, if you find some information in the following sections unclear, please refer to MS Word Help documentation.
The book specifications used for this example:
-
-
-
-
-
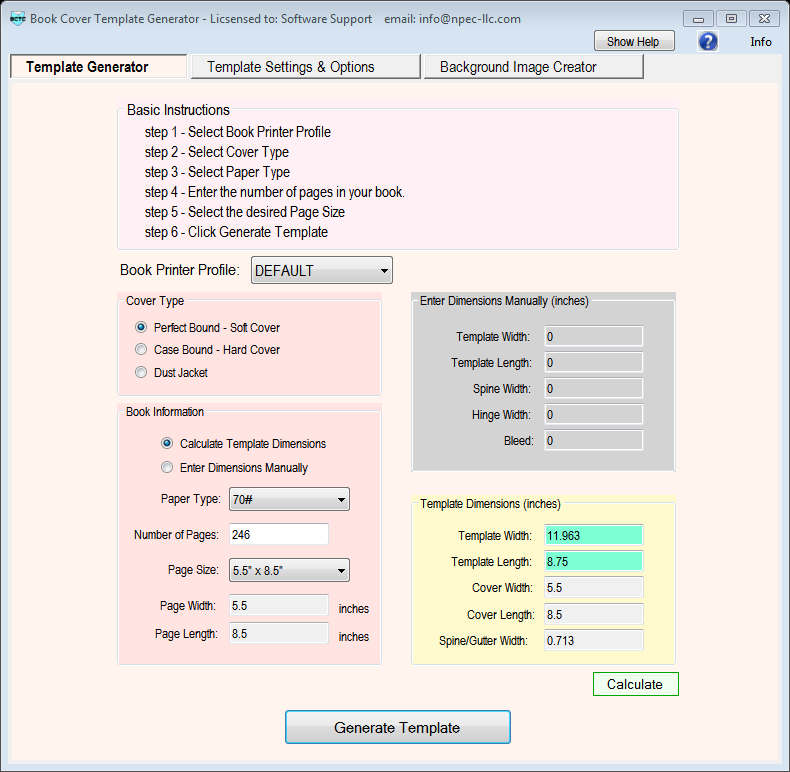
Book Printer Profile: DEFAULT
step one - Generate and save a Template file.
step two - Open MS Word
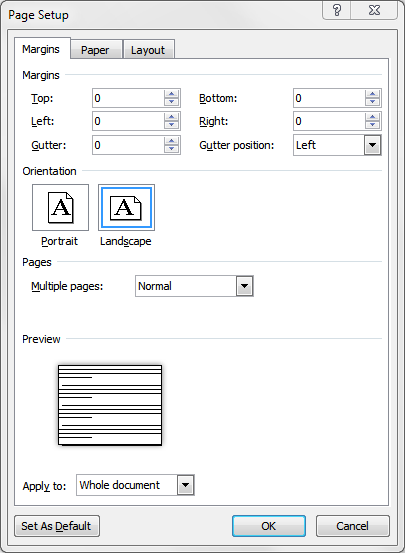
step three - In MS Word select the Page Layout and in the Margin section, set all margins to 0 and the Orientation to "Landscape" (see below).
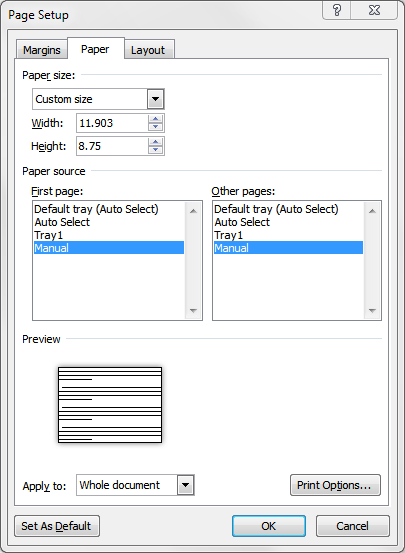
In the Paper section, either manually enter or cut and paste the Template Width value found in the Template Generator Window into the Width field and the Template Length into the Height field (see below).
Then click the OK button in MS Word Page Setup.
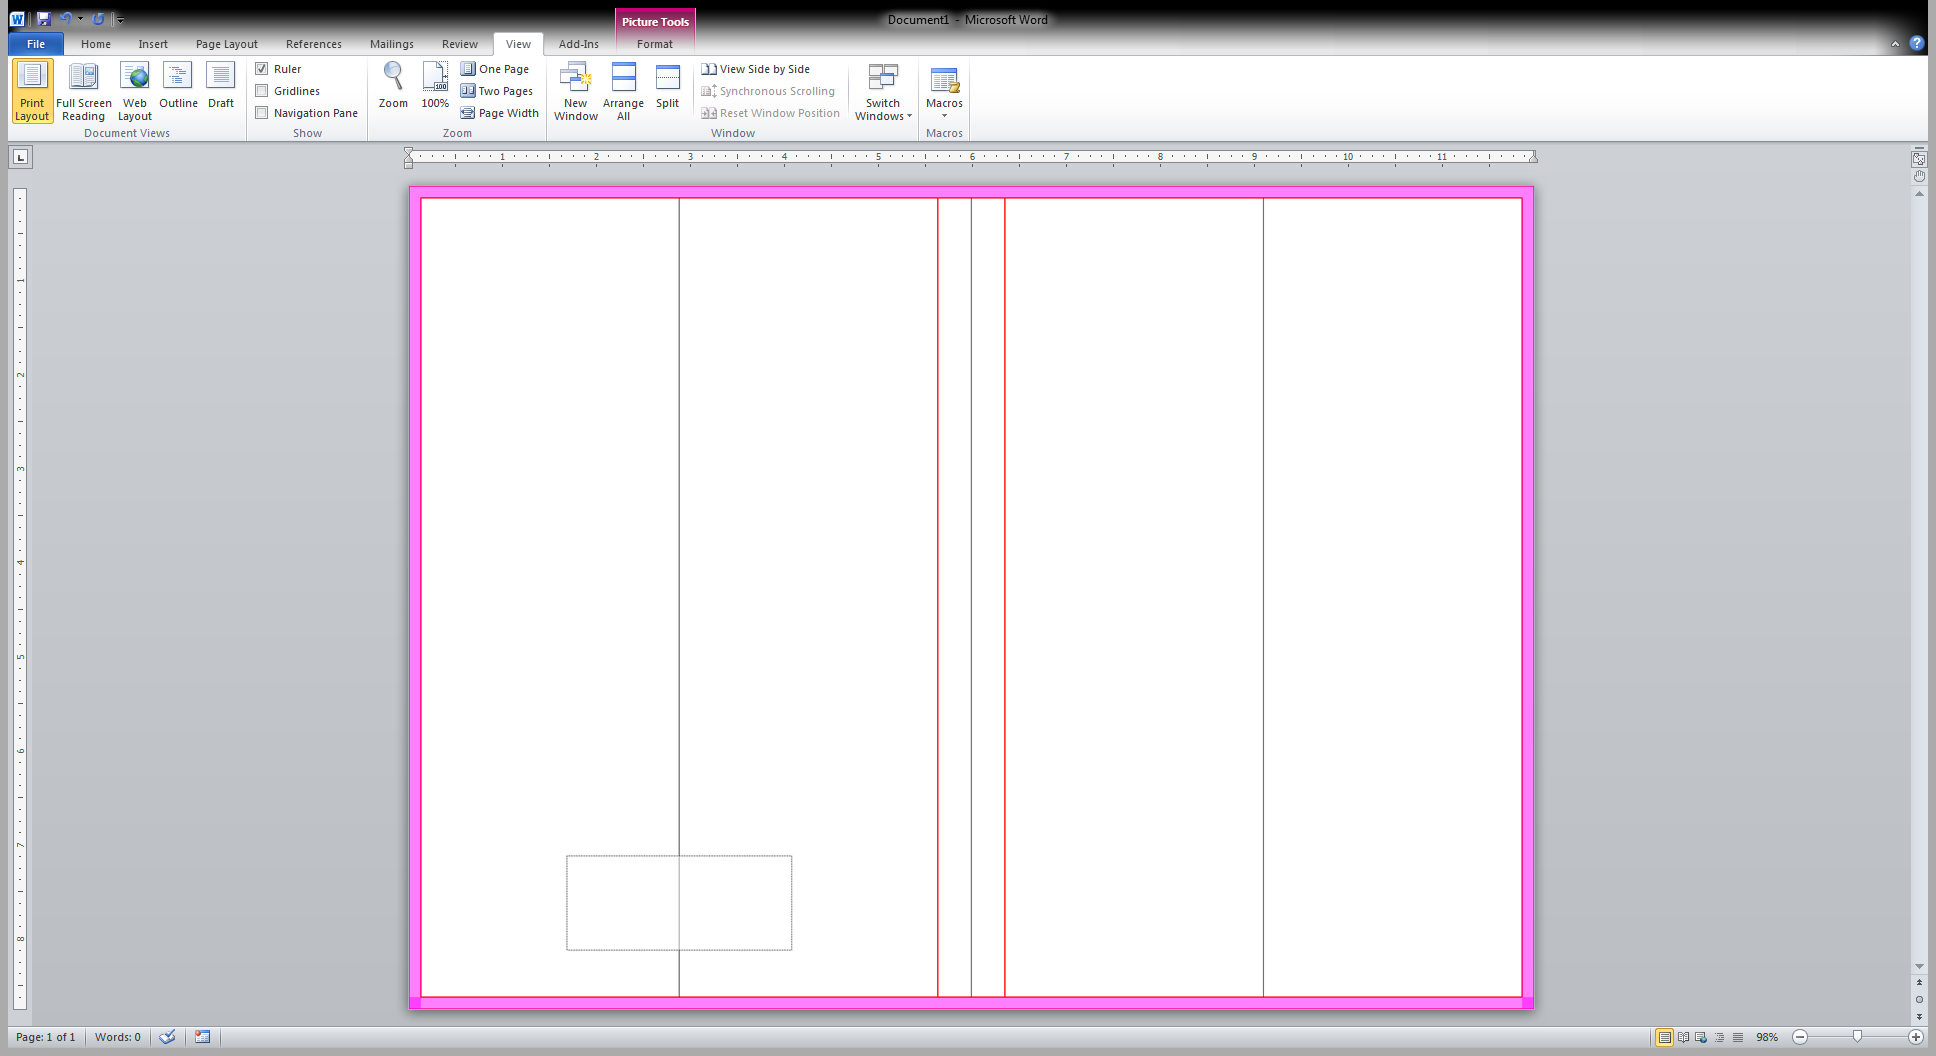
step four - In MS Word, select Insert - Picture from file, using the Insert File dialog, find the saved Template file generated in step one, select the file and click OK. The Template should appear in the Word document and completely fill the page. (see below) Note the View in MS Word has been set to One Page or Whole Page.
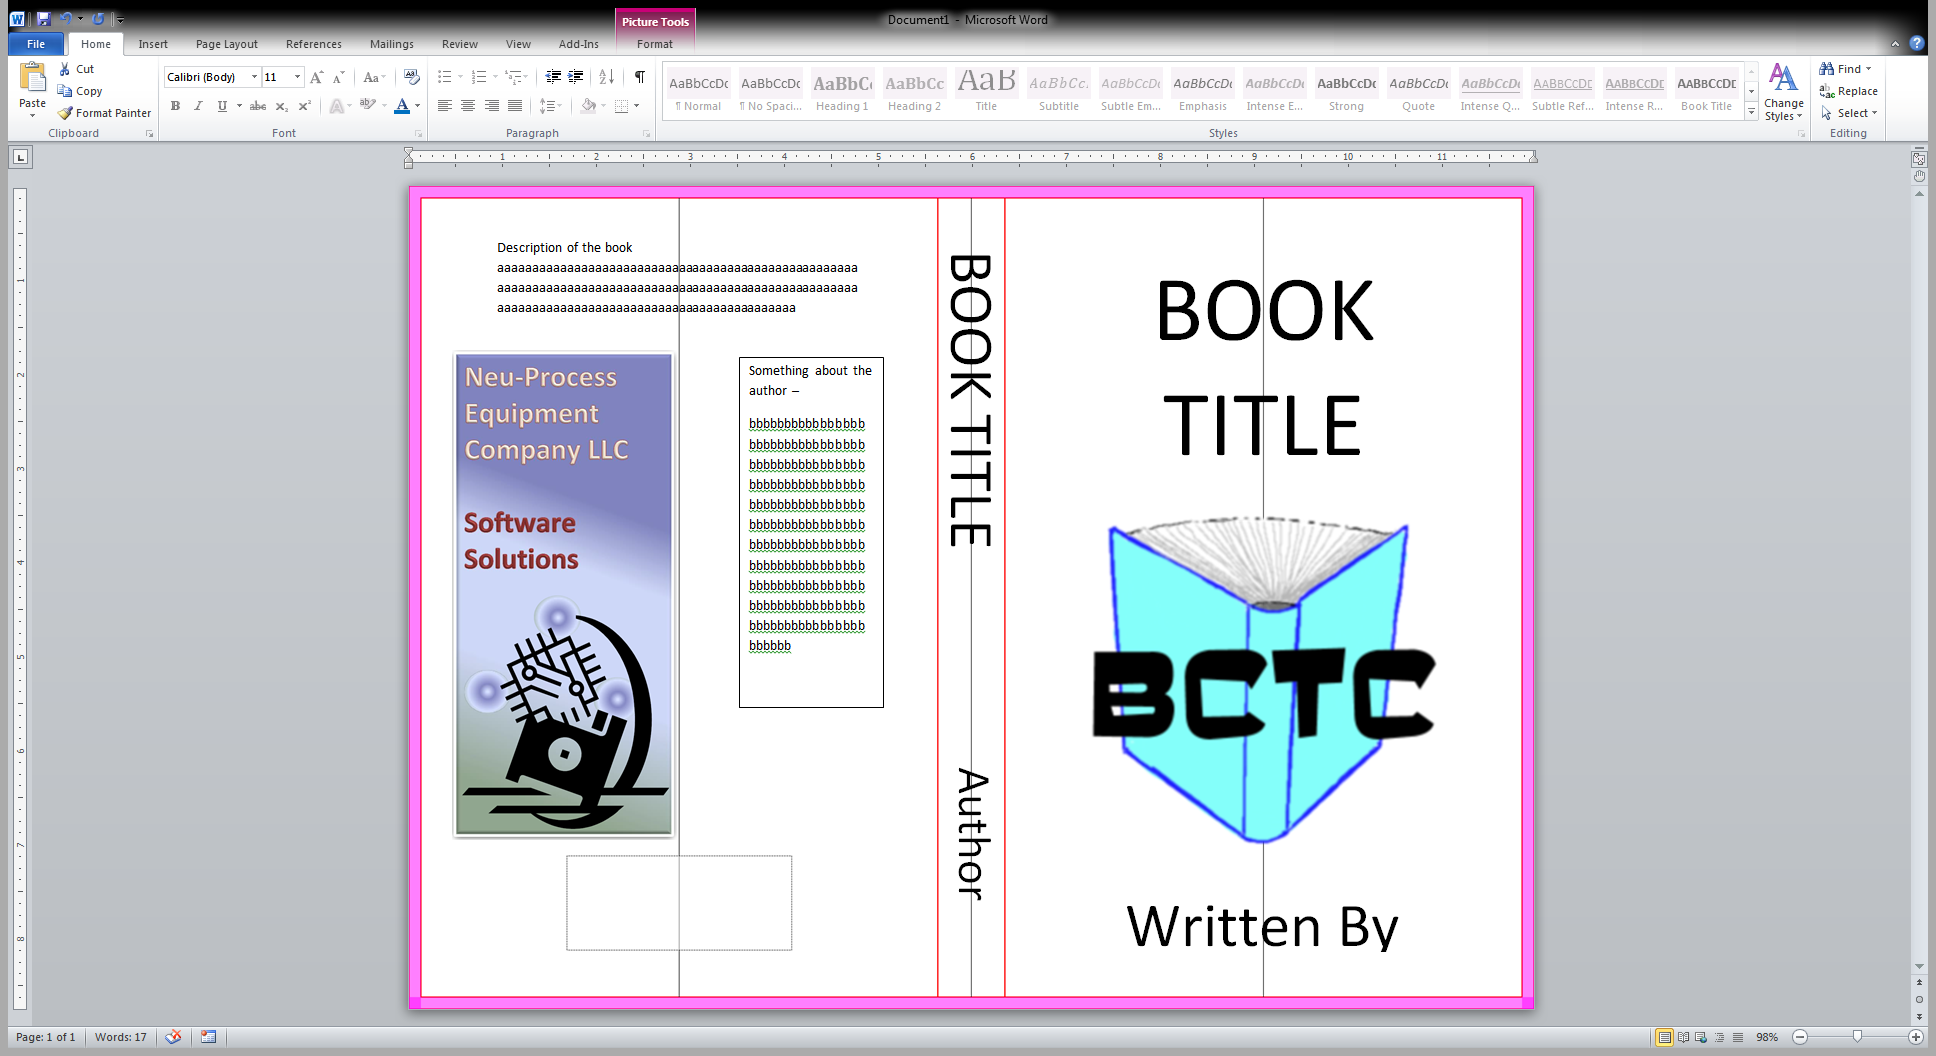
step five - Insert text and images into MS Word. (see below)
Notes:
-
Use only Text Boxes for inserting text. In this example Text Boxes have no Fill or Outline (except for the Something about author box). The Spine Text Boxes are formatted to have the text direction set to Rotate All Text 90°.
-
Set the Template image Wrap Text property to "Behind Text".
-
Use the centerlines on the Template image to align the Text Boxes and Images.
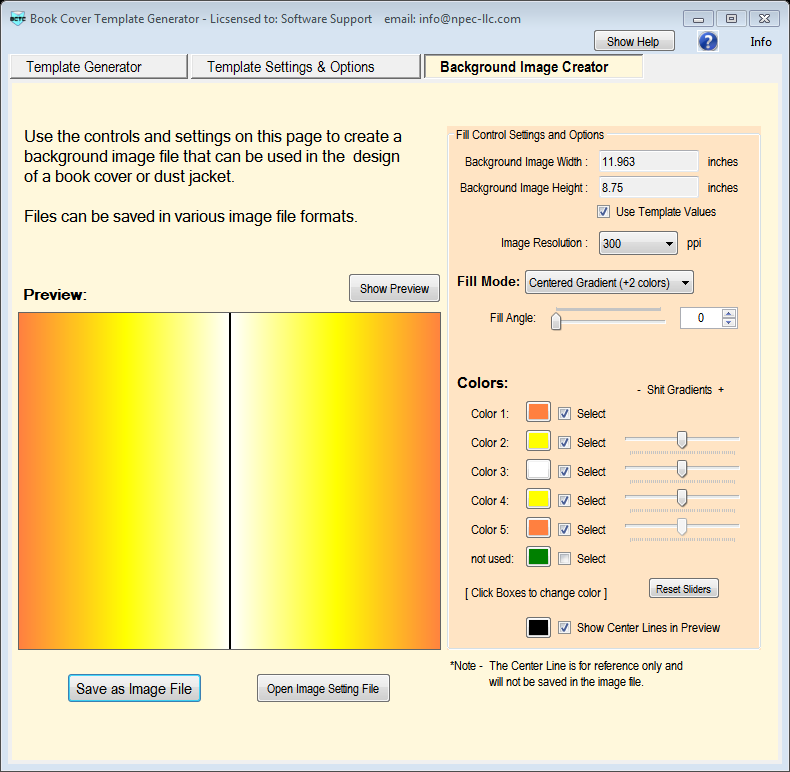
step five - Create a Background image file or any desired image file can be used (it should fill the entire page of the MS Word document).
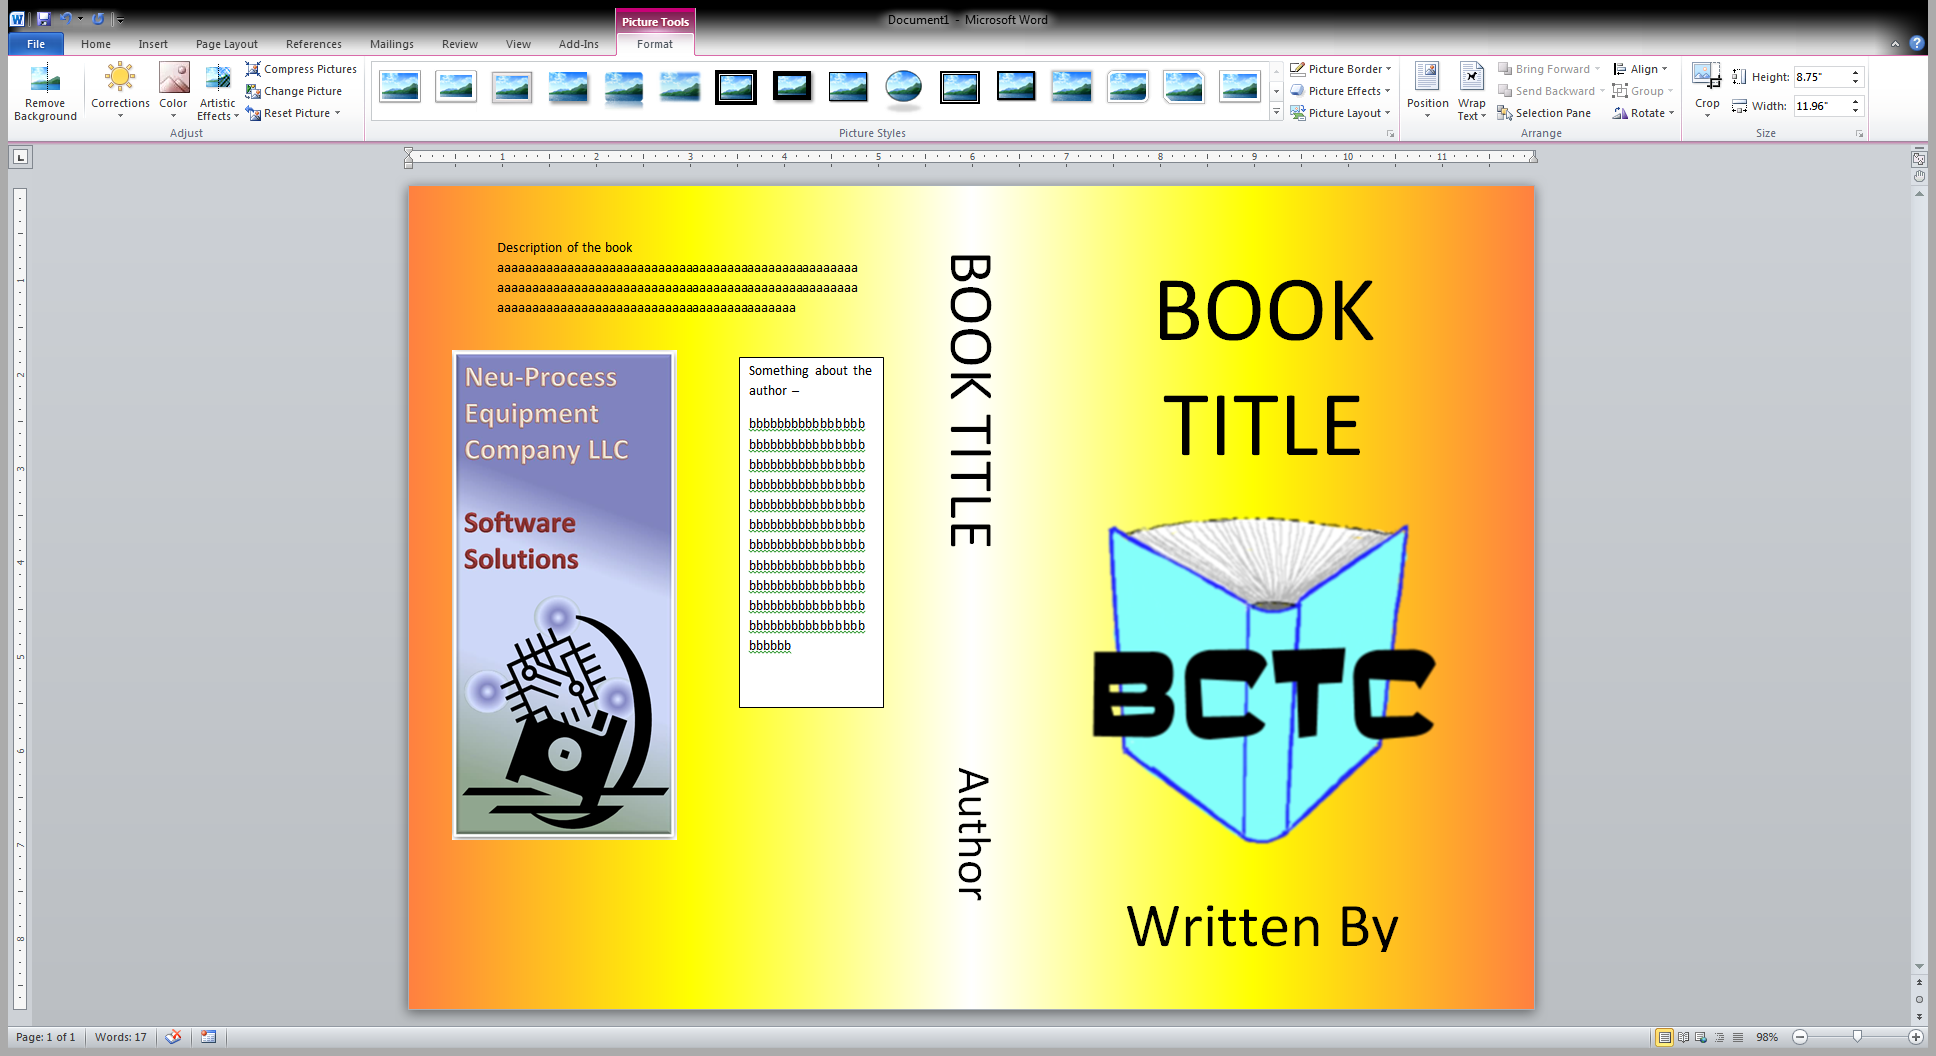
step seven - Using the "Change Picture" feature in MS Word, select the Template image, then in the Insert Image dialog, locate and selecte the saved Background Image file and click OK. (see below)
Alternatively you can remove (delete) Template image from MS Word document and then insert the background image.
step eight - Save the MS Word document. Then create a pdf either using MS Word internal save as PDF or using third party software. Done.